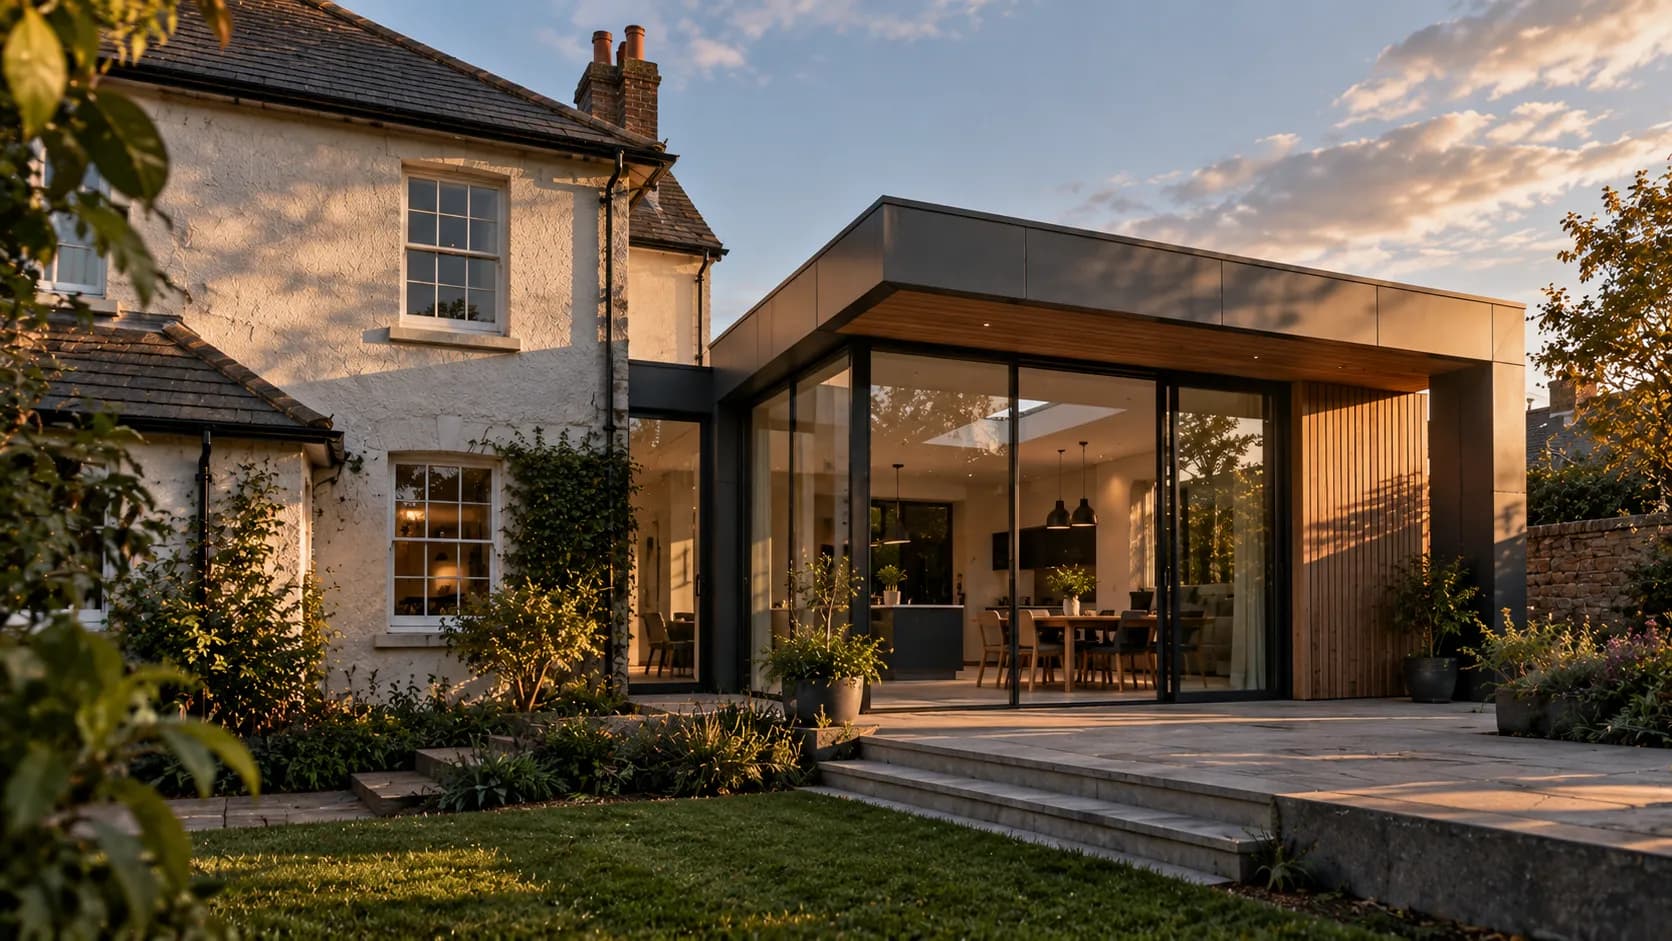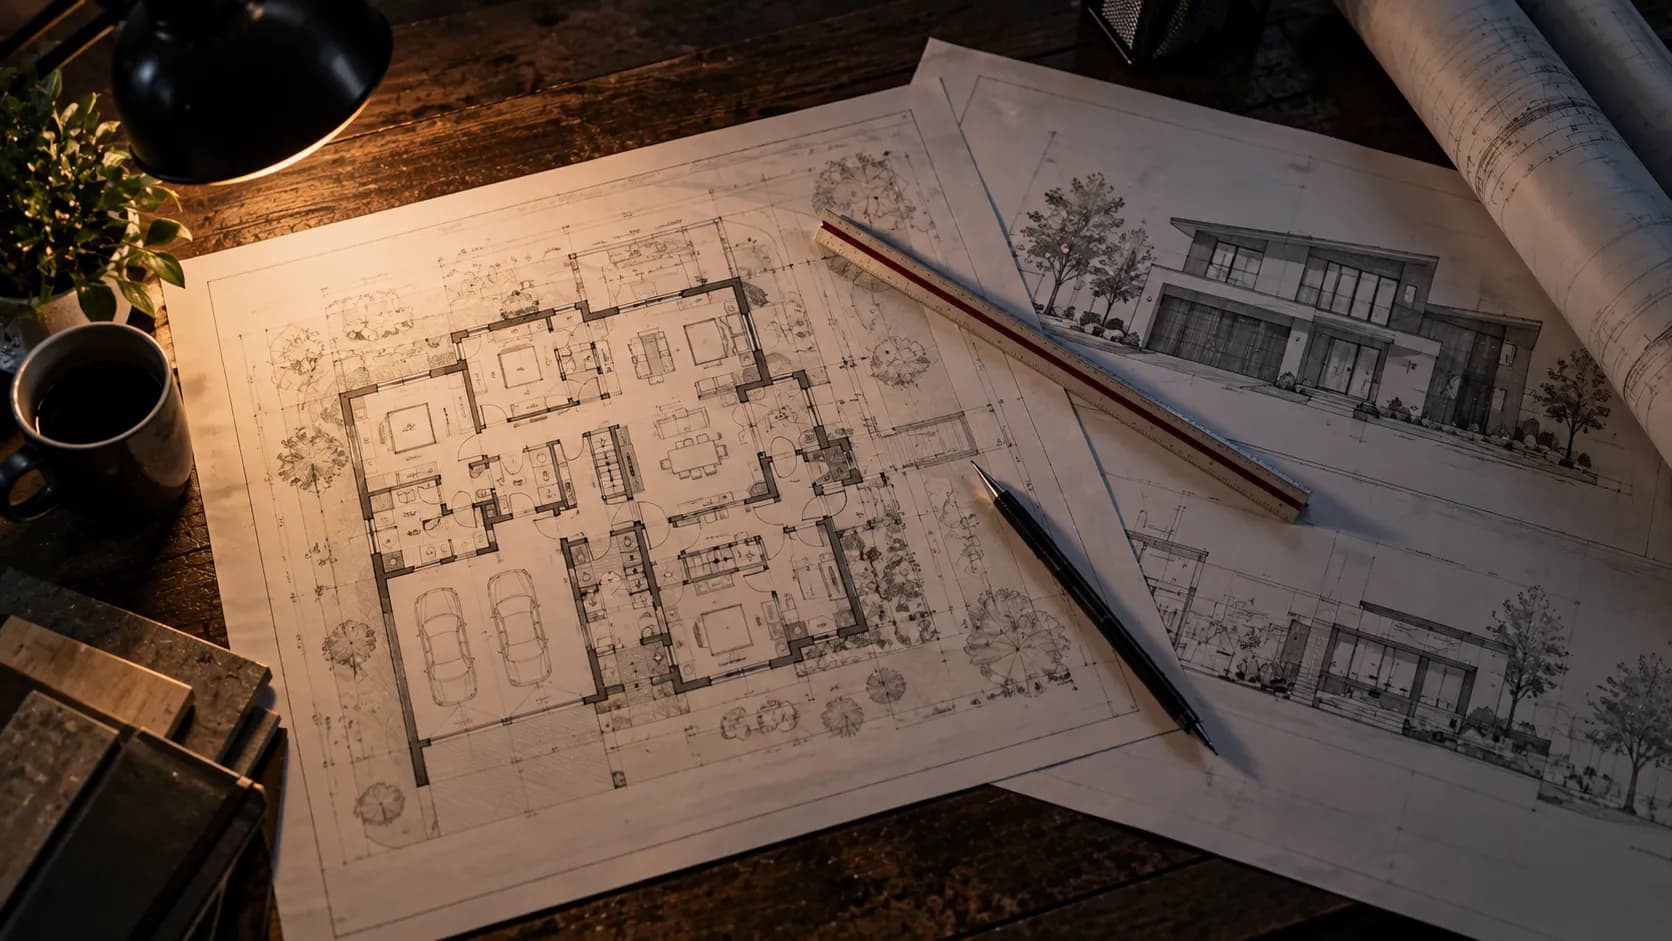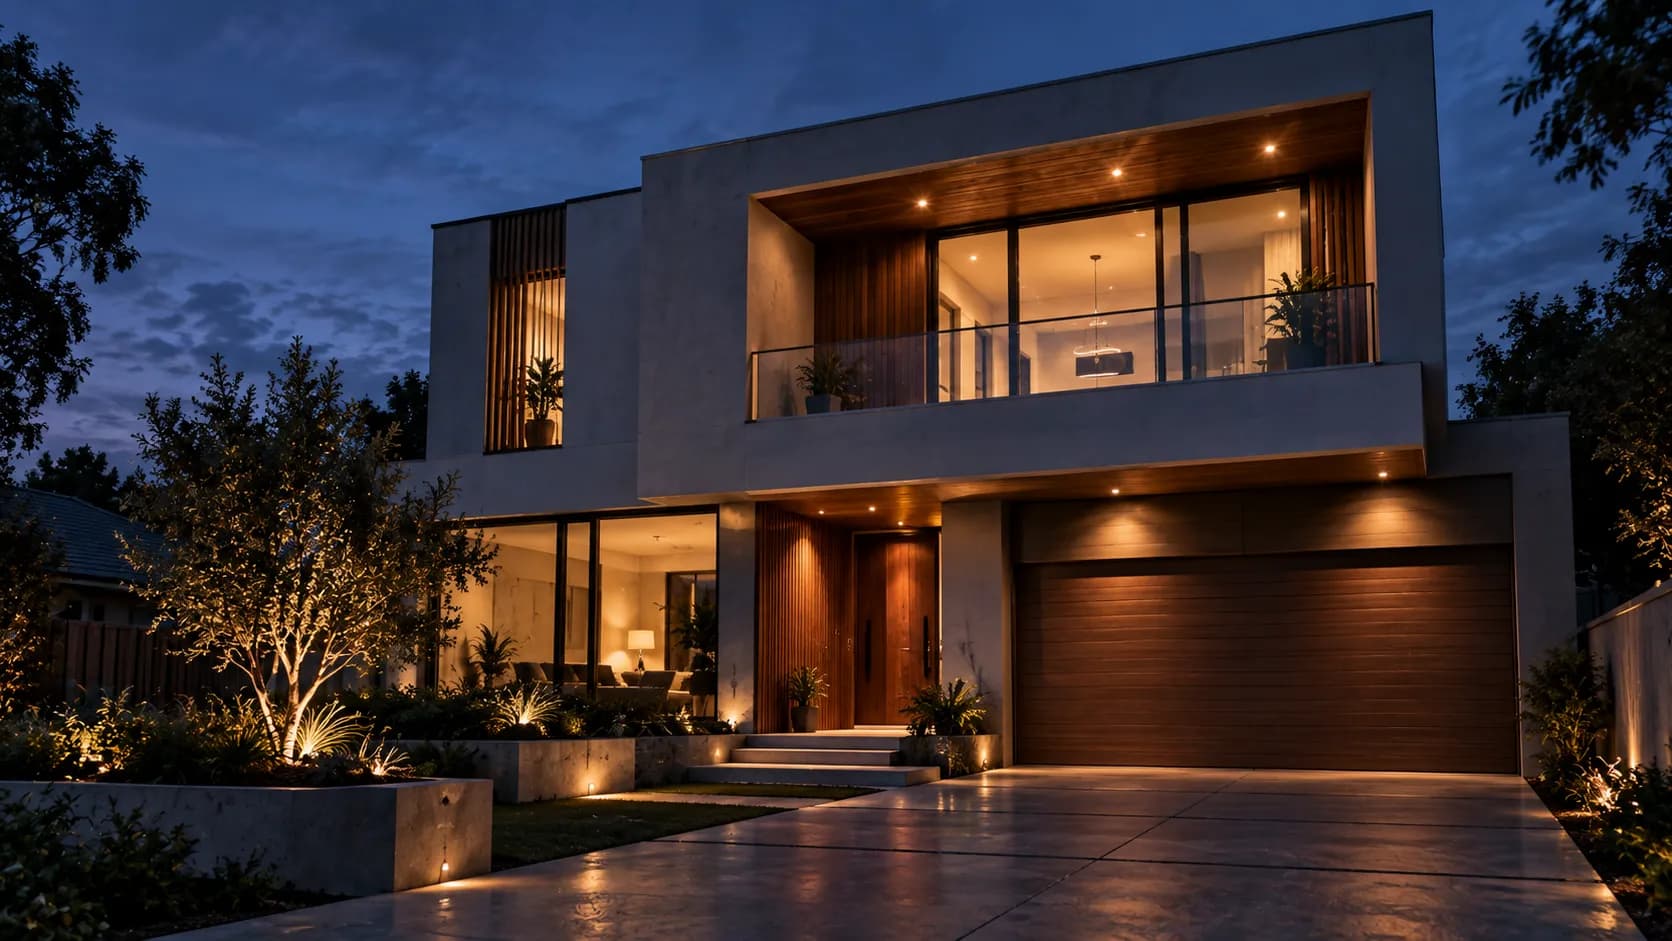
If you've never built a house before, the process can feel opaque. You know you need drawings, you know you need approval, and you know a builder gets involved somewhere — but the order isn't obvious, and it's hard to know when you're supposed to decide things.
Here's the full sequence, and more importantly, what to decide at each stage.
Stage 1 — Brief and site assessment
Before any drawing happens, two things need establishing: what you need, and what the land allows.
Your brief covers how many bedrooms and bathrooms, how you actually live day to day, whether you're planning for future family changes, your budget range, and your must-haves versus nice-to-haves.
The site determines much of what's possible: plot dimensions and orientation, access, slope and drainage, existing services, and the setback and coverage rules that apply.
This stage is mostly conversation, and it's worth taking seriously. A brief that's honest about budget and lifestyle produces a house that suits you. A vague brief produces a house that suits nobody in particular.
Stage 2 — Concept design
This is where the first plans appear: overall layout, room positions and approximate sizes, how spaces connect, and how the building sits on the plot.
Expect to iterate here. Two or three rounds of revision at concept stage is normal and healthy — it's by far the cheapest point to change your mind. Moving a wall on paper costs a revision. Moving it later costs considerably more.
Decide at this stage: the overall layout, room relationships, orientation, and roughly where the house sits on the plot.
Stage 3 — Approval drawings and submission
Once the concept is settled, the drawing set for approval is prepared and submitted.
This stage has a rhythm you don't control. Approval timelines depend on the authority, the completeness of your submission, and sometimes factors specific to your plot. Build buffer into your expectations.
Requirements, fees, and processing times differ between authorities and change from time to time, so treat any timeline you've heard second-hand as a rough guide rather than a promise. Confirming the current position for your own plot at the start of the project is far less painful than discovering it midway through.
The important strategic point: don't stop work while you wait. The detail design can proceed in parallel, and doing so is often the single biggest time saving in the whole project.
Stage 4 — Construction drawings
While approval is in process, the drawings your builder will actually work from get developed. If the difference between the two sets isn't clear, approval drawings vs construction drawings covers what each one is for.
This is where the house becomes buildable: fully dimensioned plans, wall thicknesses, door and window schedules, electrical layouts, plumbing layouts, and detail drawings for junctions that need resolving.
Decide at this stage: window and door positions and sizes, electrical point locations, plumbing positions, and any built-in elements. These decisions are cheap on paper and expensive in concrete.
A useful test for whether the set is complete: could a builder who has never spoken to you price and build from this without calling you every day?
Stage 5 — Interior and exterior design
Interior and exterior design work best when they're decided before the walls go up, not after — because so many finish decisions have construction implications.
A recessed light needs a ceiling void planned for it. A wall-hung vanity needs blocking in the wall. A particular floor finish changes the screed depth, which changes door heights. Deciding finishes late means either compromising or reworking.
This stage typically covers material and finish selections, joinery and built-in furniture design, lighting design and switch positions, bathroom and kitchen layouts in detail, and exterior treatment, boundary walls, and landscaping.
Stage 6 — Construction support and handover
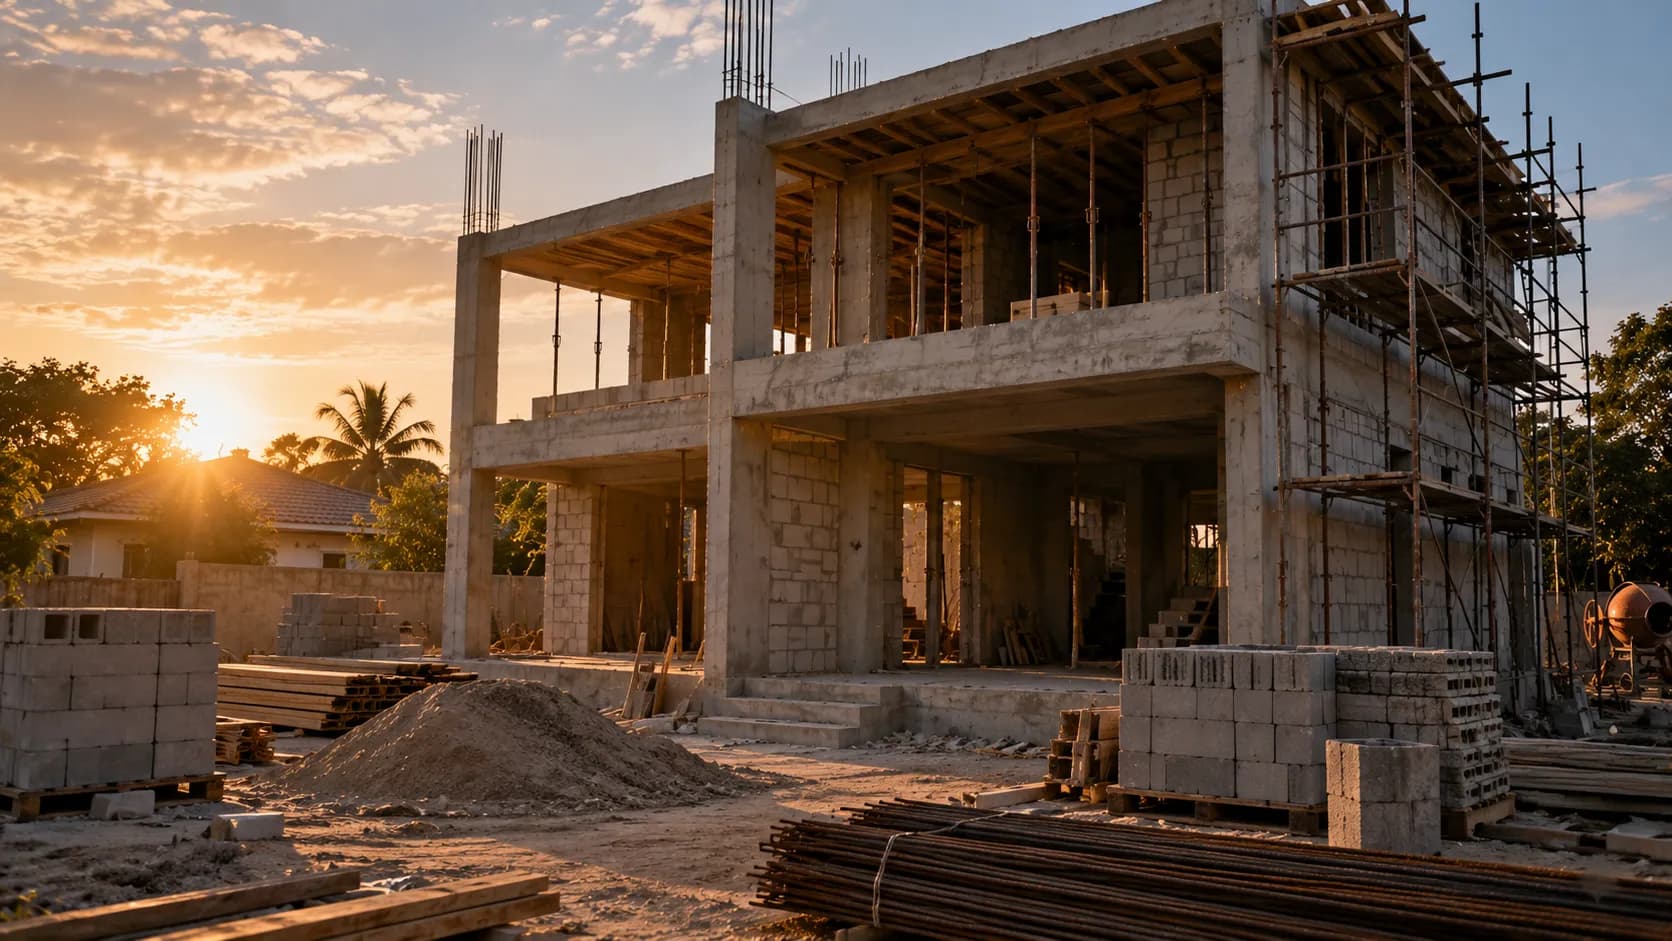
During construction, the design work isn't finished — questions come up, site conditions reveal surprises, and details need clarifying.
Having the designer available during construction prevents the most common failure mode: a builder making a design decision on the spot because nobody was available to ask.
At the end, ask for as-built drawings recording what was actually constructed, including any changes made along the way. The day you want to add a room or find a buried service, you'll be glad you have them.
The decisions that cost the most if delayed
If you take one thing from this: some decisions are dramatically cheaper early.
- Layout and room sizes — free to change at concept, expensive once approved, very expensive once built
- Window and door positions — cheap on drawings, expensive once walls are up
- Electrical and plumbing positions — cheap before first fix, disruptive after
- Floor finishes — affect levels and door heights, so late changes cascade
- Built-in furniture — needs wall blocking and service positions planned in advance
None of these need to be decided on day one. But each has a point in the sequence after which it gets expensive — and knowing where those points are is most of what separates a smooth project from a stressful one.